2.5 Windows 98 Second Edition + Unofficial Service Pack
Since beginning this project I always intended to use a Window 9x based operating system for this build. However instead of just using out of the box 95, 98 or Millennium I decided to go with 98 Second Edition and also install the Unofficial Service Pack. By doing this I understood that I may loose some potential performance because of the extra demand on the system from the extra security updates and features. But the main reason I decided to do this was it also meant better compatibility and stability. The last thing you want when you’ve invested hours in to a game is for your system to be crashing unexpectedly all the time leading to a corrupted save.
Why not Windows 95? There are defiantly many people with strong feelings of nostalgia for Windows 95, but it’s not really the best for retro gaming. It’s limited functionality doesn’t give it much headroom for hardware or DirectX compatibility. While there are work arounds to get some games that require Windows 98 working in my opinion it is more effort than it’s worth. I also wanted to be able to play games all the way up to DirectX 8.1 as well as OpenGL and 3Dfx Glide games.
The Unofficial Service Pack contains almost every bug fix and update Microsoft released using the now defunct Windows Update feature in 98. It adds better hardware support and extra features which bring the operating system more in line with Windows ME and early XP’s capabilities. While I could just use Windows ME which by all considerations is just an updated version of 98SE there is much debate on it’s stability, so I just went with the tried and tested. The Unofficial Windows 98 Second Edition Service Pack version 3.65 which I’ll refer to as U98SESP3 is a really excellent way to get a stock install of 98SE up to snuff for retro gaming. When writing this there is a version 3.66 of the U98SESP3 available but some users have had trouble installing it, but it does seem a fix for that is to install 3.65 first and then 3.66 over the top. For the sake of this write up I’ll be assuming you are using version 3.65 as this is the version I originally used, if you are following along that is.
I found installing the service pack right after Windows has finished it’s setup and you have all the hardware drivers installed worked well to keep things from getting “complicated”. There are a few reasons it’s beneficial to have all the drivers installed before you begin updating. Windows 98 can be quite unstable when hardware isn’t configured properly or there are possible conflicts. The chipset drivers should also be installed, this means your system will be running at maximum performance with features like caching and hard disk DMA access enabled, this will greatly improve the time it takes to install the U98SESP3 and reduce the chance of a failed install. For more details on drivers for 98 they are covered in detail in the next section 2.6 Drivers and Windows 9x.
U98SESP3 has a couple pre-requisites of it’s own that must be met before it can be installed. The first one is an updated version of Internet Explorer and the second is an updated version of DirectX.
- Internet Explorer 5.5 SP2 – Must be installed before running the U98SESP3 setup. If you don’t the installer will either fail or will complete but will break File Explorer, making you unable to browse files. Version 6 or higher can be used but I would stick with 5.5 for performance reasons.
- DirectX 8.1a / 8.1b / 8.2 – The U98SESP3 setup will not allow you to install some aspects if the version of DirectX installed is “out of date”. While some suggest installing version 9.0c of DirectX, I’ve found it slows down performance considerably and can cause some stability issues with older games.
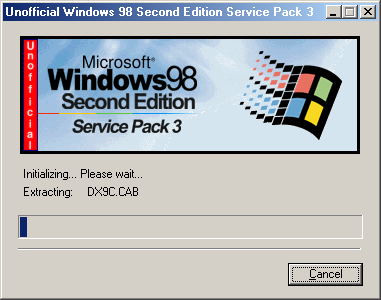
Upon launching the Unofficial Service Pack’s executable U98SESP3.EXE it will take a little while to extract itself. (For some reason it does this to a folder inside of C:\WINDOWS\TEMP and will delete itself upon a system restart, which is annoying because several restarts are required during the installation process. I found it beneficial to copy the folder out of TEMP after launching to a safe place so I could run the component selector again at a later time.)
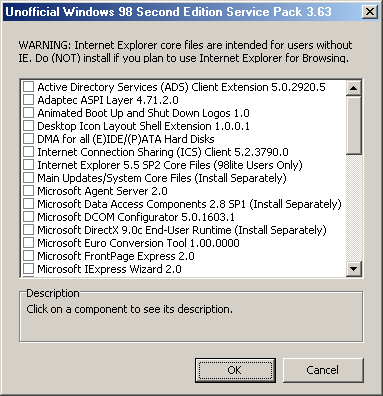
Once extracted it will open a readme/agreement page detailing the install process and warning you not to have any important data on the machine, agree and continue. Next you are met with the component selector the entry “Main Updates/System Core Files (Install Separately)” is the bulk of the updates and must be done first and on its own. Select it and press OK, the system will close explorer and begin installing the updates with a progress window.
The system should restart as part of this process. You may need to run the installer again and wait for it to extract or open the component selector from the folder you moved (it’s the exe with the metal skull icon). You can now select multiple features as long as they don’t say (Install Separately), the only other features you really need are Active Directory Services Client Extension and the Time Zone Update. Active Directory Services will allow you to network 98SE with any SMB 1.0 compatible Windows computer, I’ve had success with Windows 3.11, XP, 7 and 10 and the Time Zone update just helps the system keep accurate time with current daylight savings.
With all the additional updates and components installed we should now have a nice fresh and stable 98 install to work with. All that’s left is to get Windows all tuned up with the best drivers and system tweaks to get the maximum performance out of your system. There are many things you can do to get the best performance out of 98 but by far the most important is using the best drivers for your hardware and best doesn’t always mean newest.
2.6 Drivers and Windows 9x (VXD vs. WDM)
While installing Windows it will have run a hardware detection wizard and setup drivers for your hardware, that is the ones it had drivers for at least. If your build is made of components released before or around Windows 98SE/ME chances are you’ll have working drivers installed automatically for most devices. However if your hardware supports 98 but was released well after you’ll need to track down drivers. Something to take note of is that while Windows will have installed (usually) stable motherboard/chipset drivers, they wont be the official ones and defiantly won’t provide support for all your motherboards features or the best performance.
Speaking of performance Windows 9x uses two different types of drivers, these being VXD drivers and WDM drivers. VXD drivers are preferred for their better performance and in most cases they are more stable, this is because they are the more mature type out of the two. Audio hardware especially benefits from VXD drivers, with much less CPU overhead and in some cases higher supported sample rates and 3D hardware acceleration. WDM aka Windows Driver Model drivers were newly introduced with Windows 98 and while designed to be more stable the reality was the new structure led to inefficient and sometimes unstable drivers.
2.6.1 Finding the Right Drivers
One of the first places you should look for drivers is the manufactures website, in a lot of cases they still host the hardware product pages and driver downloads. Now if you can’t find a driver/bios update on the manufactures current website it’s always worth giving the waybackmachine a go, this lets you view websites at an older point in time. Another essential place for retro hardware drivers is the VOGONS Vintage Driver Library which is a fantastic and curated library of hard to find and essential drivers.
If you are having trouble finding drivers because you don’t know the exact name of your hardware there are a few ways you can go about identifying them. One fantastic tool is the Windows 98 edition of CPUID’s CPU-Z, this tool will give you the model numbers for your CPU, motherboard, chipset, memory and GPU as well as the BIOS version info. You can always look at the model numbers on physical hardware too, the chipset packages on motherboards and the primary audio chip on soundcards are a good starting point if no name or model number is present on the silk screen printing on the PCBs.
2.6.2 Motherboard Chipset Driver
Motherboard drivers are amongst the most important to get right as these can enable DMA (Direct Memory Access) on hard disks and optical drives, as well as the full functionality of the AGP bus and USB ports. Chipset drivers can be confusing too, many distributable installers have silly names, poor naming conventions and completely unrelated version numbers. I have had on a few occasions installed the “latest” (highest version number) of a chipset driver setup only for it to make Windows completely unstable. The reason for this turned out to be the version number in the setup name didn’t refer to the version of the driver for that motherboard, but instead it was for the chipset family as a whole and was intended to be used with a completely different motherboard.
These kind of issues can be hopefully be avoided by using drivers from the provided installation discs if you have them, getting them directly from the product support page online (if they still exist) or by using the way back machine as I mentioned previously. However it’s not always as simple as just looking back at the history of a products support page, while the page might be cached and viewable the downloads themselves might not be. If this is the case and you can’t download the driver you can still find the file name in the download link and then search for that. There are a lot of driver backup websites some of which are legit but bear in mind that there are many which are not, a tell tale sign they are not legit is if they constantly try to get you to install anything like “driver cleaners/update wizards” aka malware.
2.6.3 USB Mass Storage Driver
A very useful thing to get sorted early on is the USB Mass Storage Driver which will let you use thumb sticks and external drives over USB. The easiest way to do this is with nusb3x which adds support for USB 1.1 and 2.0 devices if you chipset allows for it. I personally used version 3.3e because that was what I had at hand at the time but v3.6e should be good. Take note that there is a reported possible compatibility issue with U98SESP v3.66, a work around is to not install nusb3x until after U98SESP 3.66 or to install the main updates from U98SESP 3.65 first and then install 3.66 over the top.
2.6.4 Third Party GPU Driver Replacements
Third party drivers mostly consist of modified official drivers although there are some 3Dfx drivers which are modified from source. There are several different reasons you might want to use a 3rd party graphics card driver. Along with tweaks and extra features 3rd party driver packs are geared towards practical real world performance, with modifications made to increase game and system performance over the skewed vanilla drivers that are optimized specifically for synthetic benchmarks.
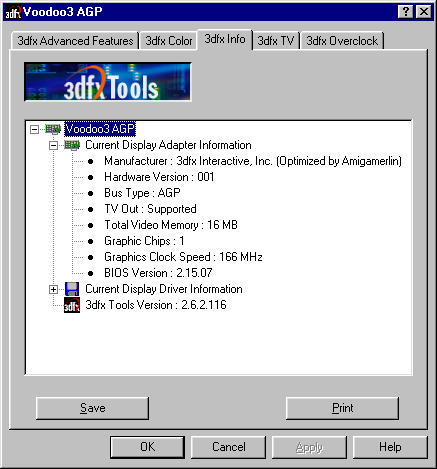
When it comes to 3Dfx drivers I have to recommend the Amigamerlin 2.9 Voodoo Drivers as a straight up improvement to the official drivers. They work with the Voodoo 3/4/5 models and come with a nice set of control panel tools and there are other versions for Voodoo 1 and 2. It also includes a fantastic control panel and overclocking tool which exposes all of the registry variables for Direct3D, OpenGL and Glide rendering.
Yet another way to improve performance in some OpenGL based games is to use the 3dfx optimised “MiniGL” driver. I used the version 1.47 of the 3dfx MiniGL driver which is the fastest for AMD K6 systems. The MiniGL drivers are drop in replacement .DLL files which you can add to games which support them. An alternative to the MiniGL replacement DLL is the WickedGL replacement DLL. Unlike MiniGL, WickedGL was a commercially available software package with a installation/management tool which would identify games and install either the standard or high resolution WickedGL driver. It was also developed for much longer than MiniGL and can greatly improve framerates in some games.
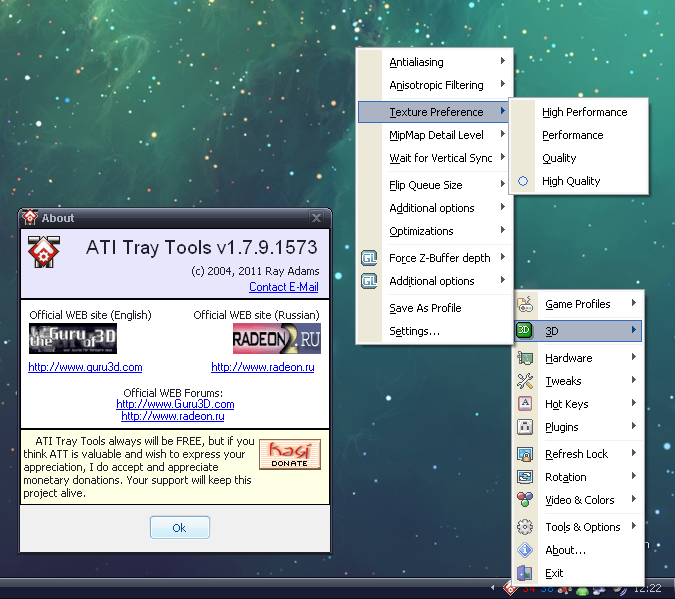
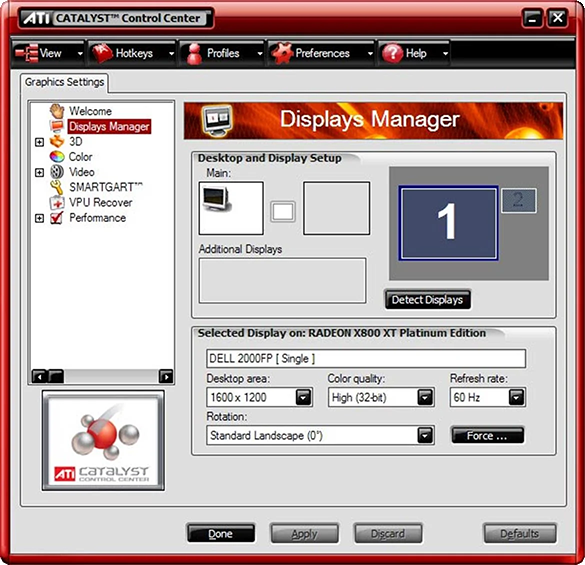
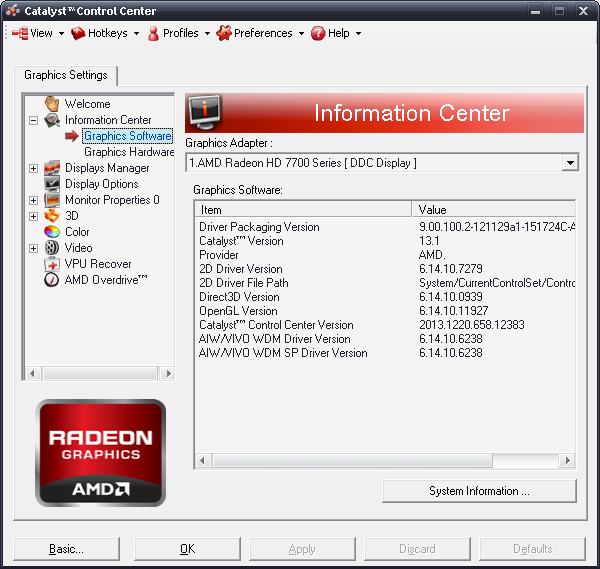
There are also some great 3rd party driver replacements for Nvidia and ATI cards. I have had a great experience with the Omega Drivers for ATI cards and ATI Tray Tools their replacement for the Catalyst Control Center is heaps better. The download links for the Omega Drivers Archive page on the waybackmachine are still functioning including the cached mirrors of their host provider NGOHQ. Here are links to the cached ATI downloads and Nvidia downloads pages.
2.7 Power Tools and Utilities
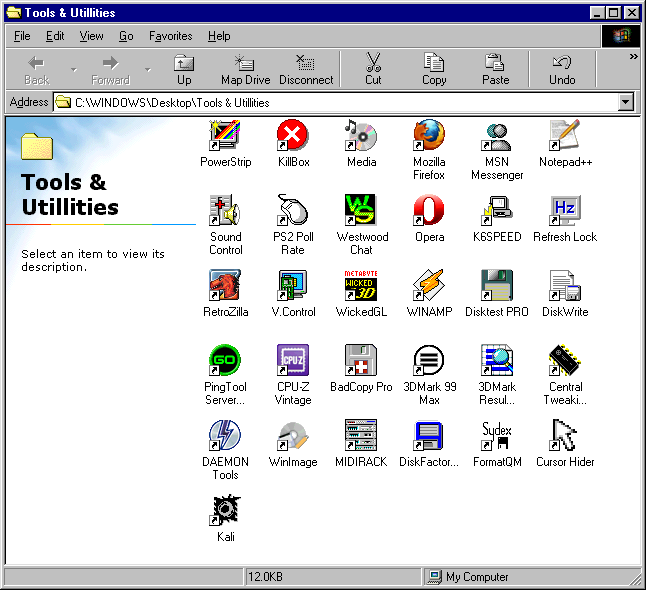
All the power tools and utilities I’ve mentioned so far and a few extras that have been boundlessly useful while doing this project.
Check them out using the links below!
AmigaMerlin V2.9 Win9x Driver – 3DNow! optimised a greatly improved Voodoo 3/4/5 driver for Windows 9x.
CPU-Z Vintage Edition – Special Windows 98 version of CPU-Z, a great tool to help identify your PC specs.
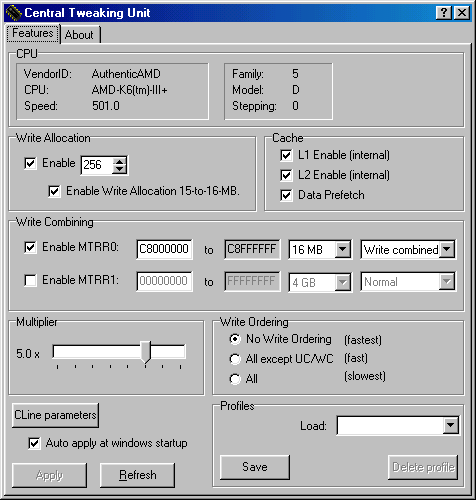
CTU – Central Tweaking Unit is a tool for enabling Write-Combining amongst other things in Windows.
Cursor Hider – Hides the mouse cursor, a great fix for those Glide and OpenGL games which bug out and show the Windows cursor in the middle of the screen.
K6 SPEED by Kyle Brant Software – A utility for changing an AMD K6’s clock multiplier on the fly from the Windows desktop.
KernelEx – An addition for Win9x that extends support to some NT Kernel programs. Warning could cause problems, but let’s you run Firefox.
KillBox – Simple to use program that helps you delete stubborn files with bad permissions that Windows won’t delete.
MiniGL – The FalconFly Archive of 3Dfx’s optimised OpenGL driver for specific games. Version 1.47 for AMD K6-2/3.
Powerstrip – Resolution management and profile tool, also allows fine tweaking of CRTs.
Sound Control – For setting volume limits, default levels and mutes, and keyboard shortcuts. Great for returning volumes to non-ear bleeding levels when games change your WAV/CD volumes without asking.
TweakUI – A powerful utility that you can use in Windows 95, 98, or NT to tweak the user experience and fix the icon cache..
WickedGL – Improved performance in MiniGL/OpenGL games using a 3Dfx Voodoo 3 Card, also has a high-res flavour for 1024×768+.


You must be logged in to post a comment.